How to Position the Rhinestone Ribbon Slider
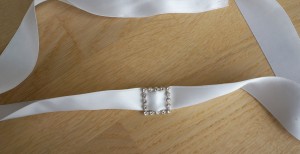
1. Slide the ribbon through the ribbon slider, until it is in the center of the ribbon.
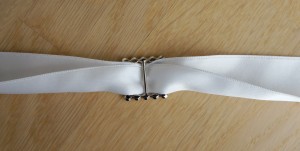
2. Turn the slider over so it is face down.
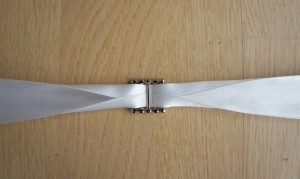
3. Fold the top and bottom edges into the center.
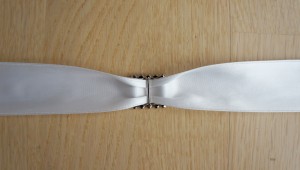
3. Then fold them again outwards, so it is double folded on the top and bottom. A good way is to keep sliding it left to right until it’s folded evenly on each side.
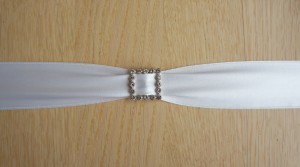
4. Turn it over and it should give this desired look.
Attaching the white ribbon around the lid of the box
Once you have the rhinestone slider positioned correctly you can then attach the ribbon around the lid using double sided tape.
Alternatively if you do not want to attach the ribbon directly onto the box (so it can easily be removed) you can use glue to stick the ribbon together at the back of the box.
Using Glue:
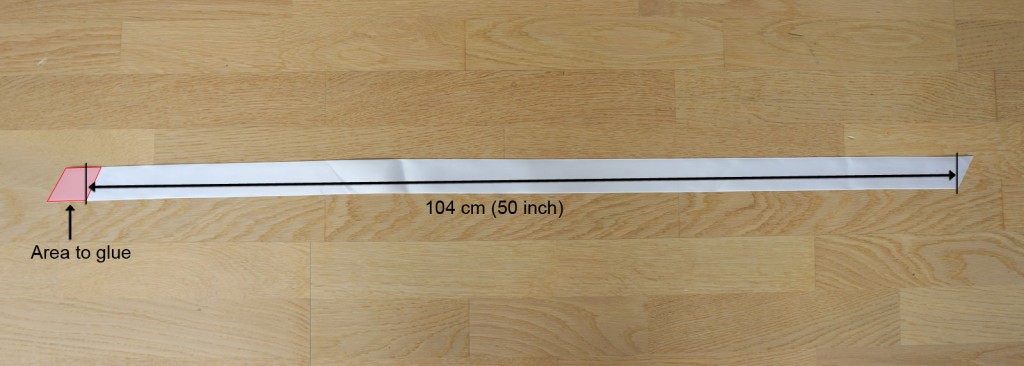
1. Measure out 50 inch (104 cm) onto the ribbon and make a tiny dot to mark it. This needs to be done before putting on the ribbon slider, so the ribbon lies smooth and flat for accurate measuring.
2. Put on the ribbon slider by following the earlier instructions on this page.
3. Use a hot glue gun to glue the ribbon to the correct length. The red area in the above photo shows where you need to glue. Make sure you get this measurement as accurate as possible otherwise the ribbon may be too loose and slip off, or be too tight and not fit around the lid.
4. Once glued, simply slide the ribbon over the lid of the box. It should have a very snug fit and will stay positioned perfectly around the lid.
Note: Ideally you only want to use a glue to join the two pieces of ribbon at the back of the box. Using a glue around the sides and front of the box is likely to give a bumpy texture and ruin the appearance of the ribbon.
